All Event Notifications
This screen lists event notifications for all ATMs. By default, events are grouped by state.
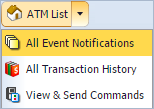
To view All Event Notifications, select .
Note:
To view the Event Notifications page for a specific ATM, select the ATM in the ATM List screen, and then select the Event Notifications tab.
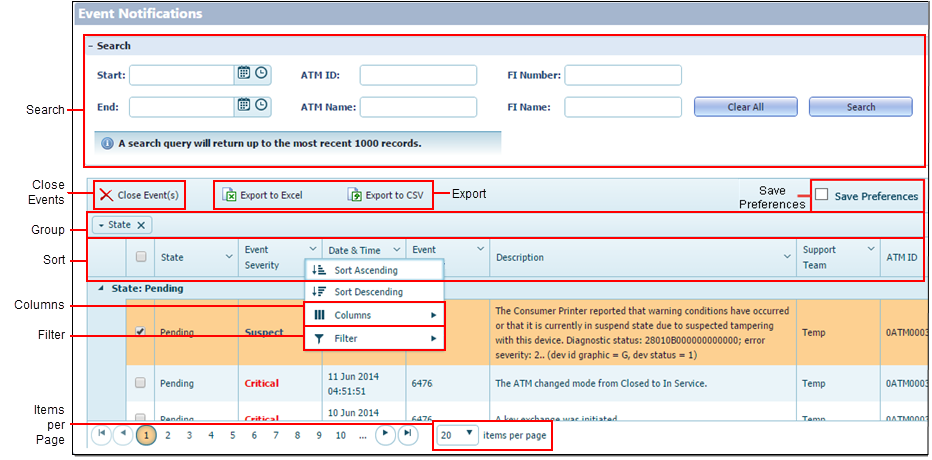
- Search
- You can search using these fields.
- Start and End search over a time range. If you only select a date, the time
defaults to 12:00
AM. If you only select a time, the date defaults to the current
day.Tip: You cannot select a date or time in the future when searching for the following:
- Event Notification
- Transaction History
- Electronic Journal
- Processed Commands
- ATM ID supports * wild-card search.
- ATM Name returns results for partial matches.
- FI Number requires an exact match.
- FI Name returns results for partial matches.
- Start and End search over a time range. If you only select a date, the time
defaults to 12:00
AM. If you only select a time, the date defaults to the current
day.
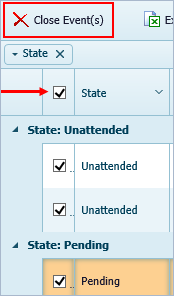
- Close Event(s)
- To close an event, select the check box in the first column, and then
click Close
Event(s).
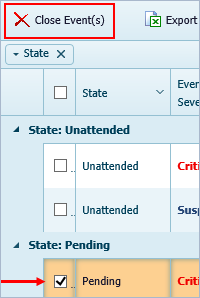
To close all events, select the check box in the header row, and then click Close Event(s). This selection includes only the current page.
- Export
- You can export the list to Excel® or CSV® format.
- Save Preferences
- Select this box to save your grid preferences. If this box is selected,
you can go to a different screen or exit the application, and your preferences remain
for that grid until you change them.
You can save your preferences for the following grids:
- ATM List
- ATM Details
- Event Notifications
- Transaction History
- Pending Commands
- Processed Commands
- Event Notifications
- Transaction History
- View & Send Commands
- Group
- You can group the list by dragging one or more columns to the grouping area at the top of the grid.
- Sort
- Select the column header to sort by column.
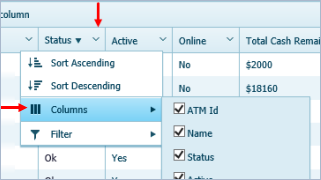
- Show/Hide Columns
- Click the chevron in the column header to open the Columns function. You can
show or hide columns by selecting or clearing their check boxes. Column options vary
depending on the page.
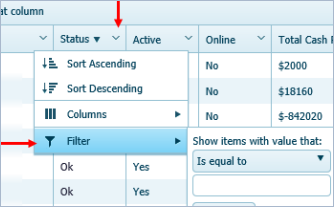
- Filter
- Click the chevron in the column header to open the Filter function. You can
create a filter to return more specific results. Filter options vary depending on the
column and the page.
- Items per Page
- This feature indicates the number of items that appear per page.
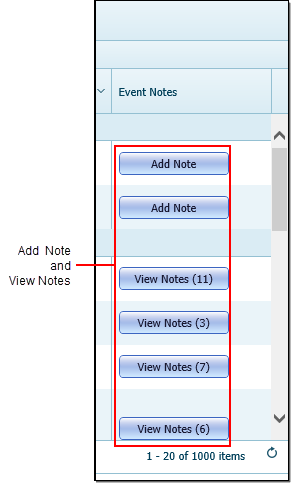
- Add Note and View Notes
- Select these buttons to add notes to an event or to view the existing
notes for the event. These buttons are dynamic and change depending on whether the event
has notes.Event without Existing Notes

Event with Existing NotesAfter adding a note to an event with a state of Unattended, the event state changes to Pending.
