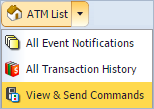
View & Send Commands
From this page, you can send or cancel commands for multiple ATMs.
To access View and Send Commands, select .
Errors on this screen stay in a pending state until you address them.
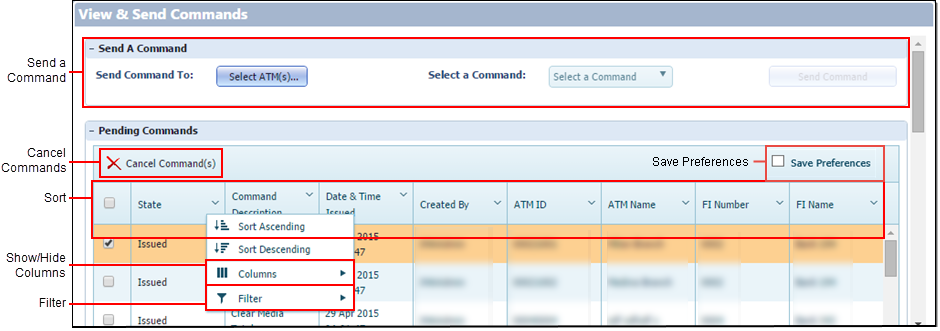
- Send a Command
-
Send commands to the ATM.
Note You can only send commands to NCR® or Diebold® ATMs.The following options are available from the Select a Command drop-down menu:
- Reset - Select Reset to close all open events on the Event Notifications tab. Closing all events stops email notification timers, so email reminders of an event stop. Fault conditions are cleared on the portal for any faulted hardware listed on the Hardware tab.
- Close - Select Close to send a Shutdown (go out-of-service) command to an ATM. This action results in an out-of-service screen on the ATM. The terminal mode should then show Closed. The network does not process any transactions that are sent from the ATM while in a Closed state. The user must send an Open command to put a machine back in-service.
- Open - Select Open to send a Startup (go in-service) command to an ATM. Prior to sending the Startup, EAD checks the ATM to see if it needs a download (and sends one if the ATM reports that it needs one). It also requests an updated hardware fitness list from the ATM. This information is reflected on the Hardware tab and indicates information and statuses about hardware components that the ATM has installed. The network only processes transactions if the terminal mode is listed as In-Service.
- Full Download - Select Full Download to send configuration data to the ATM. Depending on Terminal Emulation and the type of ATM, this data may include transaction types permitted to local and foreign card holders, transaction to-from account type selections, fast cash amounts, local and foreign BIN numbers, operational timers, and settlement card data, etc. The terminal is placed back into the same mode before the Full Download is sent. If a terminal already has a good configuration, sending another full download does not cause any issues.
- Check Download - Select the Check Download option so that when support changes a terminal's configuration, a new configuration ID number is generated. The configuration ID number is sent to the ATM as part of the configuration data in the Full Download. Issuing a Check Download command asks the ATM to report its current configuration ID. If the configuration ID where the ATM reports does not match what EAD has for it, a Full Download is automatically sent. Once complete, the terminal is placed back into whatever mode it was in before the command.
CPS support can activate the following optional commands on a per-FI basis: Force Settle, Remote Key Exchange, and Terminal Resync. Open a support case with CPS if you want more information about getting access to these optional commands, as they require training on their use prior to activation.
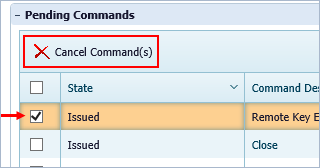
- Pending Commands
- Commands in this section have not yet completed, and you can still cancel them.
- Cancel Commands
- To cancel a command, select the check box in the first column, and then
click Cancel
Command(s).
 To cancel all commands, select the check box in the header row, and then click Cancel Command(s). This selection includes only the current page.
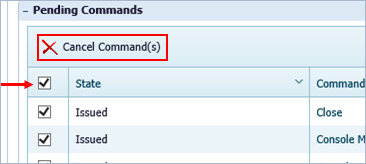
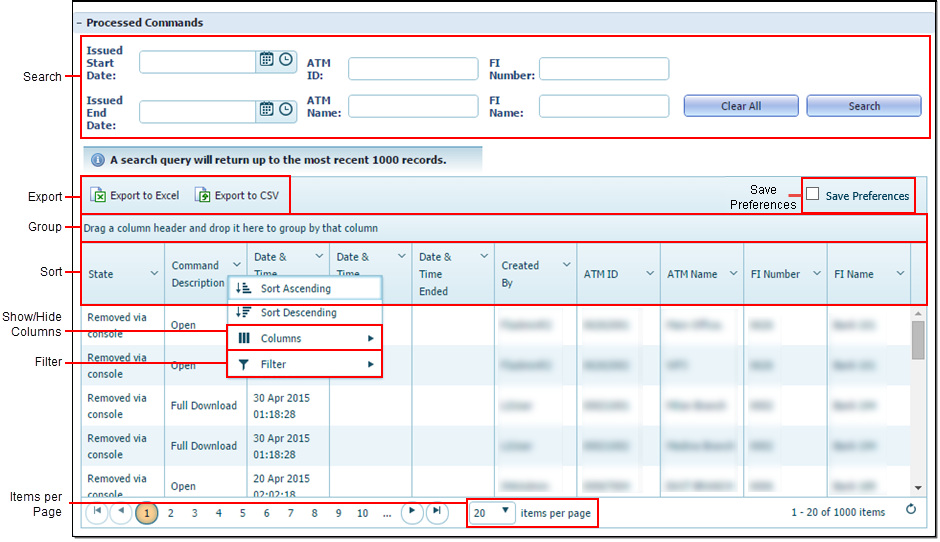
- Processed Commands
- Commands in this section have already completed and cannot be canceled.
- Search
-
You can search using these fields.
- Issued Start Date and Issued End Date search over a time range. If you only select a date, the time defaults to 12:00 AM. If you only select a time, the date defaults to the current day.
- ATM ID supports * wild-card search.
- ATM Name returns results for partial matches.
- FI Number requires an exact match.
- FI Name returns results for partial matches.
- Export
- You can export the list to Excel® or CSV® format.
- Save Preferences
- Select this box to save your grid preferences. If this box is selected,
you can go to a different screen or exit the application, and your preferences remain
for that grid until you change them.
You can save your preferences for the following grids:
- ATM List
- ATM Details
- Event Notifications
- Transaction History
- Pending Commands
- Processed Commands
- Event Notifications
- Transaction History
- View & Send Commands
- Group
- You can group the list by dragging one or more columns to the grouping area at the top of the grid.
- Sort
- Select the column header to sort by column.
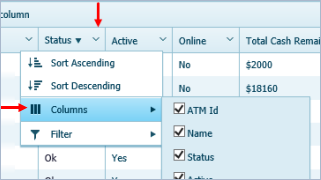
- Show/Hide Columns
- Click the chevron in the column header to open the Columns function. You can
show or hide columns by selecting or clearing their check boxes. Column options vary
depending on the page.
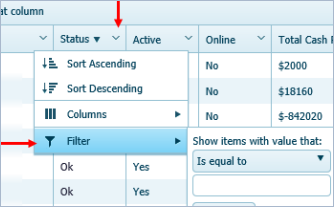
- Filter
- Click the chevron in the column header to open the Filter function. You can
create a filter to return more specific results. Filter options vary depending on the
column and the page.
- Items per Page
- This feature indicates the number of items that appear per page.